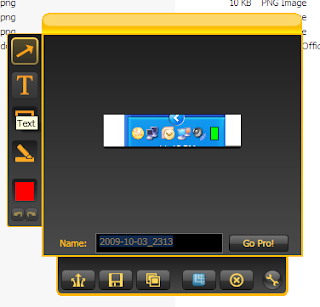
Maria Andersen from Teaching College Math put me on to Jing.
WHY IT'S WORTH DOWNLOADING
- If you are involved with teaching others how to use software, Jing provides an efficient means of capturing images of programs from the desktop. You may already know about the Print Screen button on your keyboard, but Jing makes it easy to select only a particular region of the desktop.
- Jing can be used to make videos of activity on the desktop.
- For the basic features, it's free. And the basic features allow you to do many useful things. The Pro version looks fairly cheap.
- It's user friendly.
MY SETUP
- I set up the shortcut key Ctrl+Alt+Shift+C to trigger capture.
- I set up the button settings for Save to automatically save to a specified location. This allows me to take a number of screen shots and then edit the file names later.
USE CASES
Embedding screenshots in a blog post
- INTRODUCTION:At least in my blogging editor (Blogger), you need to save the picture files and then upload them. You can't just copy and paste a picture.
- DOING IT: Thus, to add screen captures to Blogger: 1) run capture in Jing; 2) Click save; 3) edit file name; 4) in Blogger, go to the post editor and click 'insert image'; 5) upload the image; 6) double click on the image in the Insert Picture Dialogue box to insert into the blog.

Embedding a video in a blog post
- 1) Activate capture; 2) Select the area of the screen to be captured; 3) do what you've gotta do; 4) change the file name; 5) find a place to upload the video file (YouTube is an obvious option; I used a Google Pages account that I had); 6) insert embed tag into the blog post in Edit HTML mode (see Aleo's explanation of how to embed the file in the Blogger HTML).
And here's my proof of concept:
LEARNING MORE
- Maria has a number of tutorials on how to use Jing.
- Help at Jing